
3 methods to create a street art mosaic model (GUIDE 2/6) ✍️
Dec 11, 2023
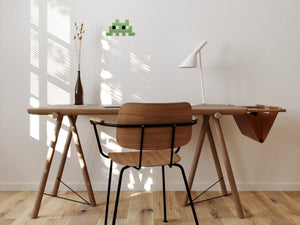
Now that you have found inspiration thanks to our first guide , it is time to concretize the visual you want to reproduce to bring your final street art mosaic to life.
We'll show you three ways to create your street art mosaic model before assembling and attaching it.
Method #1: graph paper and markers
This first method, which consists of using graph paper and markers, offers an accessible and practical approach to creating street art mosaic models. To get started, choose a grid of graph paper that fits the size of your project . The smaller the squares, the more detailed the model will be.
Consider the mosaic model that you have in mind or that you have spotted elsewhere (consult our guide " Where to find inspiration for your street art mosaic projects? ...").
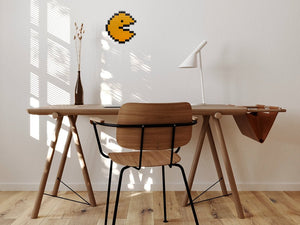
![]()
Then determine the palette of colors and (therefore pens) that you will have to use. Note that the color palette for mosaic tiles is generally limited to around fifteen shades. Opt for quality markers with fine tips, this will allow you to obtain precise and detailed coloring.
Before completely coloring the tiles, to save time, we advise you to mark a "cross" in each square of the desired color to sketch the model . It is recommended to start with the outline in order to clearly define the overall volume of the model. Next, fill in the inside of your model (and the crosses) by coloring the tiles for more realism.
To make the process easier, here are some references for purchasing the equipment:
- Felt-tip pens 24 fine point pens: link to Amazon
- A4 squared paper (1 x 1 cm squares): link to Amazon
You can also use a gridded slate with erasable markers to make it easier to erase and correct the model:
- Squared slate: link to Amazon
- Erasable markers 12 pieces: link to Amazon
Then use this template to assemble and glue your street art mosaic.
Method #2: online “pixel art” tool
This second method is similar to the first but it takes place exclusively via your computer (or smartphone) . It is therefore aimed at those who are more skilled with their mouse than with their hands.

Start by choosing from one of the pixel art tools available online. We recommend platforms such as “ Pixilart ” or “ Pixie ” which are free and ideal for getting started.
The process that follows is then almost identical.
Start by setting the size of your mosaic. Next, use the pixel drawing tool to build your model by choosing colors and drawing each square precisely .
Explore the different features offered by these tools, such as the ability to zoom for finer details, the selection of predefined color palettes, and the use of specific tools to simplify the process (for example it is possible to import an image and pixelate it in a single click).
The major advantages of this method are the ability to save your model for future use or to be able to decline the models endlessly in different colors and sizes . This flexibility allows you to adjust your creation over time, tweak details, and make spontaneous changes.
Once your model is finished, you just need to export it in a suitable format , such as PNG, to easily keep it and print it to have it next to you when building the mosaic.
Method #3: the “pro” method, the editing grid
The third method, the mounting grid, offers an even more meticulous and realistic approach to designing a street art mosaic pattern without immediately resorting to glue.

To experiment with part layout without risking permanent errors , start by selecting an appropriate mounting grid.
Select a grid based on the overall mosaic size and tile size. A finer grid will also allow finer details, while a wider grid will suit simpler patterns.
The advantages of this method lie in its flexibility. You can adjust the position of the pieces at any time, explore different combinations and experiment without fear of permanent missteps.
Position the pieces on the grid following the pre-established model or leaving room for your creativity. This method is particularly suitable for those who like to physically manipulate the elements of their creation.
Take advantage of the ability to adjust your model at any time . Try different combinations, balance colors and perfect details until your vision takes shape.
----------
By exploring these three methods for imagining your street art mosaic, you now have a range of creative approaches to bring your project to life. Whether you choose graph paper and markers, online pixel art tools, or the professional editing grid method, each technique offers unique advantages for expressing your artistic vision.
Remember that the creative process is as important as the end result. Let your creativity flourish through these different methods, adjust your model according to your current inspirations, and above all, have fun bringing your street art mosaic to life.
Now that your model is ready to take shape, it's time to move on to the next step. Explore our Guide 3 to choose the right tiles for your project .
Bonus: our DIY street art mosaic kits made in France 🇫🇷
Don't forget that you can also directly discover and obtain one of our DIY street art mosaic kits , ready to be assembled and attached in our online store ! Here, we take care of imagining the model ourselves, all you have to do is follow our instructions and use our tools.